
Blue Ridge Mountain Clay Earring DIY
I am obsessed with two things lately: Our new home in the Blue Ridge Mountains and making (and wearing) jewelry with Polymer clay.

Today I teamed up with Sculpey to bring the two of them together in these adorable Blue Ridge Mountain Sunset Earrings!
Aren’t these mountains just magical?!
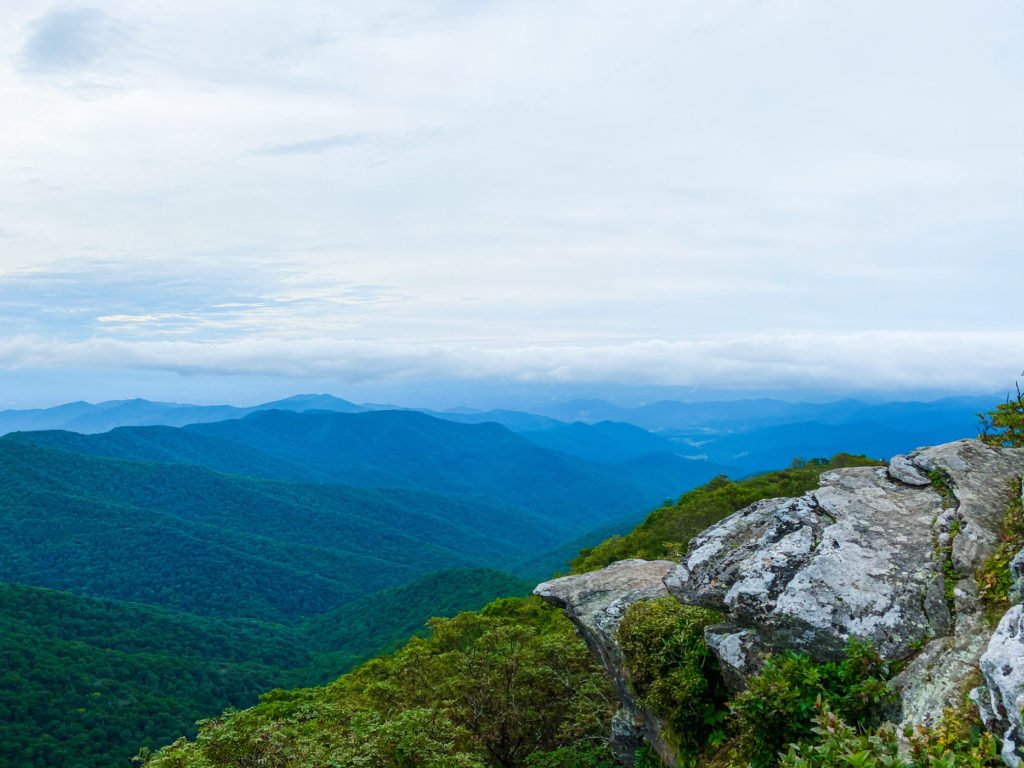
Everytime I catch a glimpse of them as we drive into Target or along the Blue Ridge Parkway I am stunned all over again. I am ever so grateful to be living in a place surrounded by beauty.
If you’ve ever seen these majestic ridges you know how captivating they are too! And if you’d like to wear them and be reminded of their beauty daily, I've got the tutorial for you!
LEARN TO MAKE BLUE RIDGE MOUNTAIN EARRINGS
A NOTE ABOUT CHOOSING CLAY
When Sculpey showed me this new shade of Midnight Blue they had created I knew it was perfect for the Blue Ridge Mountains! This new shade comes out on October 6 and is an exclusive color to the Sculpey.com Souffle line.
Souffle is one of my favorite types of clay as it’s colors are gorgeous but also because of its flexibility - literally! This is an oven-baked clay that is super strong but also flexible after baking so you can continue crafting with it - you can even stitch into it!! Clay is lightweight and holds up to everyday wear really well, so it’s ideal for creating jewelry with. Plus! It won't dry out - it stays good and you can use it in multiple projects, I just keep mine sealed in an airtight container.
Grab your favorite colors from sculpey.com and let’s gather our supplies and get started!

SUPPLIES
Workspace
- Clean surface such as a tile, wax paper or desk
Tools
- This pack has all the tools you’ll need + some!
- Roller
- Clay blades are really handy
- A paperclip or tool like this
- Clay knife
Clay
- Souffle Midnight Blue (available Oct 6)
- Souffle Guava
- Black
- Orange
- White
Shapes
- Choose the cutters in the shapes you want.
- I used an oval and a circle. You can use these, cookie cutters or hand cut them!
Baking
- Baking Sheet
- Oven
Jewelry
- Earring backs (I use studs but you could easily use dangles)
- Jump rings
- Glue (I use E6000)
- Jewelry tool
A note about your workspace:
You can use wax paper or a tile or just your table to work on. Just be sure its really clean so your clay doesn’t pick up any fuzz or other colors, so be sure to wipe it down and wash your hands between colors.


LET'S CREATE!
To get started You need to condition your clay. You want it to be warm and smooth to the touch so it’s really malleable so you don’t get any air bubbles when you bake. Start by rolling it in your hands to warm it up and smash smash smash it until it’s really easy to work with. If it gets too hot and it’s sticking to your hands just let it sit out for a few minutes or pop it in the fridge and then come back to it. But this is a really important step because you need it to be as conditioned as possible to keep it from bubbling when we bake it.
Next, you’re going to want to roll out a flat slab. You can do this by lying two of the same thickness rulers side-by-side and using them as your guide to make sure your surface is even. Shoot for about a quarter of an inch thick. You don’t want to go too thin or it’ll be impossible to work with, so ere on the side of thicker than thinner.


Now is when the fun starts!
I created my background with the Guava color and then made light marks with my shape cutters to know where I would be creating on. I placed them close together but not touching.
Next, create your blues for the ridges!
I used the Midnight blue as my base and created a 4 color ombre scale by adding black or white into the blue.


You want to use a small amount of the black and the white to create the next shade up or down so there isn’t a huge jump but so you can see the colors changing. Add a small amount and then mix more in as you go to find the perfect ombre hues.
You can see here the ratio I used as I started. And next is my final ombre line up with Midnight blue + 1 darker and 2 lighter shades.

To create the mountain ridges I studied a photo and then simply hand cut a few different ridgelines. I rolled these colors out much thinner than my main base. Don't make them too thin or they are impossible to manage but too thick and your earrings will end up the size of a sandwich! Play around with a thickness that is easy to work with and looks good to you. There’s no right or wrong way to do these! I cut them for each color and then lined them up.


I laid them out on my base and arranged them so the mountains looked nice together and then used my roller to lightly press them in so they adhered together. You don’t need to use glue as you add layers as long as you give them each a nice press. You can completely flatten them or let them be more tactile and built up - just be careful to roll gently so everything doesn't smoosh into a mess. Remember: you can always roll more but you cant unroll!


Don't forget to do a final cut of your earrings with your cutters.
For the finishing touch on your landscape, I used a straw to create teeny tiny suns! I gave them a gently press to adhere them.
Next, I chose a color for my top that I’ll adhere the earring post to. You can either hang these from a dangle earring and skip the top part or create a small topper and glue a stud back on it. I chose the darkest color as my top.


Last, don’t forget to poke holes in the earrings where you will connect them. You can use the bead tool from the pack or a paperclip. Don’t get too close to the edge or too far in, try to find a safe space near the edge but leaving a solid line between the hole and edge of the clay.

QuickTip: I use the clay blades to peel the clay off my work surface if it gets stuck.
BAKING
Now it’s time to bake! I recommend doing a test bake before you begin. Grab a small chunk of white clay and bake it in your oven at 275 and check it every 10 minutes for 40 to 50 minutes. Make sure it does not change colors. I bake my clay at 275° for 40 to 50 minutes.
Let them cool for about 30 minutes.
CREATING YOUR EARRINGS
Lastly, it’s time to create your earrings! Using your jewelry tool add a jump ring to connect your top and bottom pieces and then glue the stud back on.


Once it’s dry, it’s time to wear these cuties!!


I hope you’re so in love with them and that they give you a little travel nostalgia for these beautiful blue ridges!
If you create these, please show me! Tag me on instagram @laurenlikesblog so I can see.

Now, Im off to create every other landscape I can think of to wear!
Thank you so much to Sculpey for partnering with me to create this post. All opinions and ideas are my own and please know that I only work with companies whose products I already own, use, and love.
KEEP CREATING!
If you want to keep creating with your extra clay, why not create an airplant holder?! See the tutorial here.